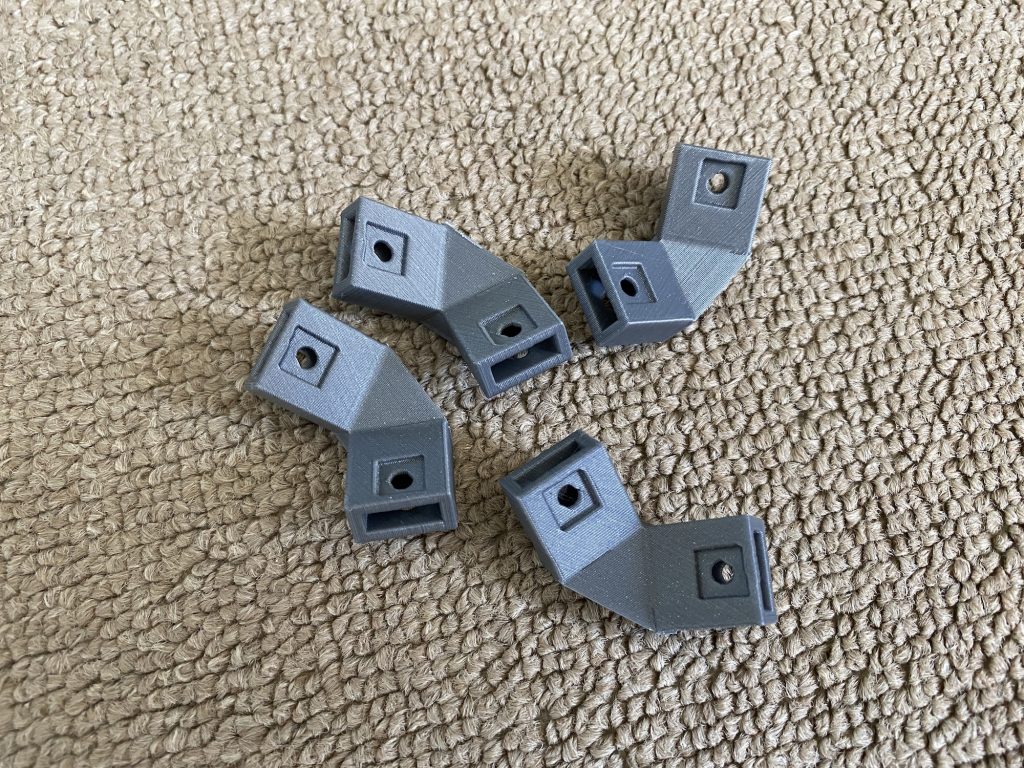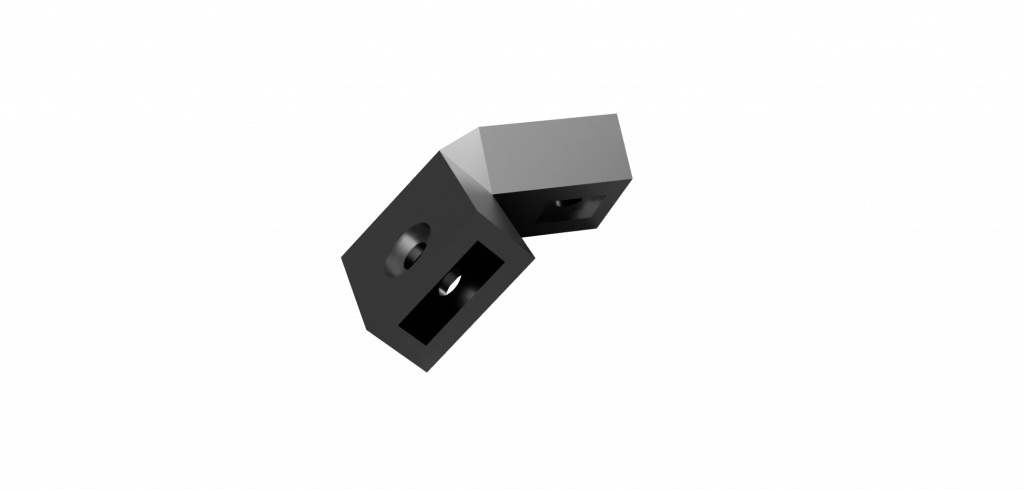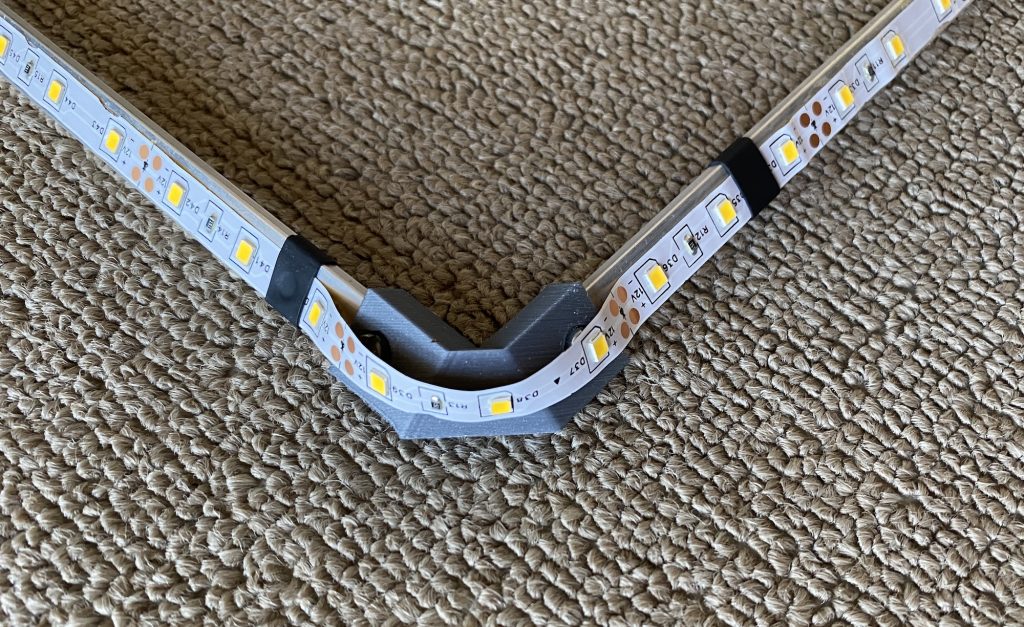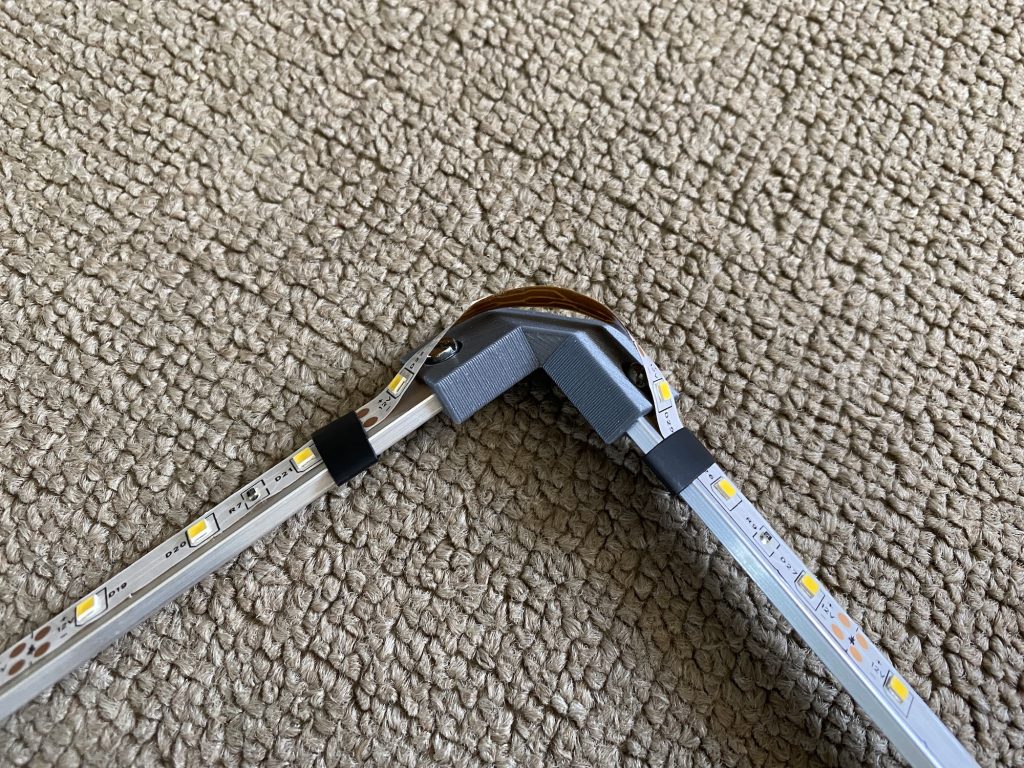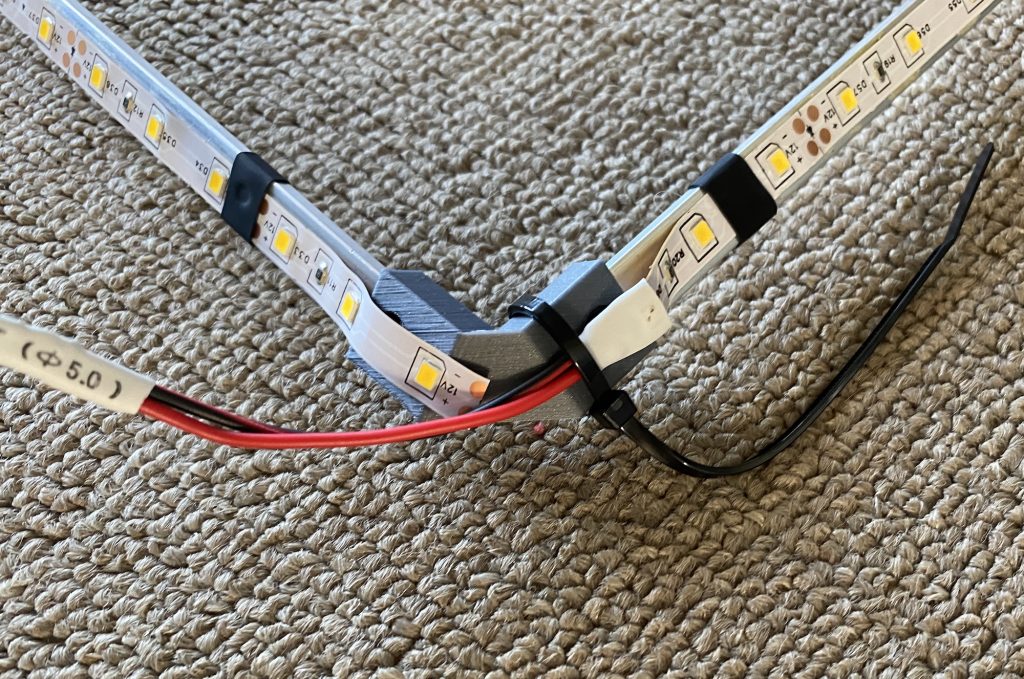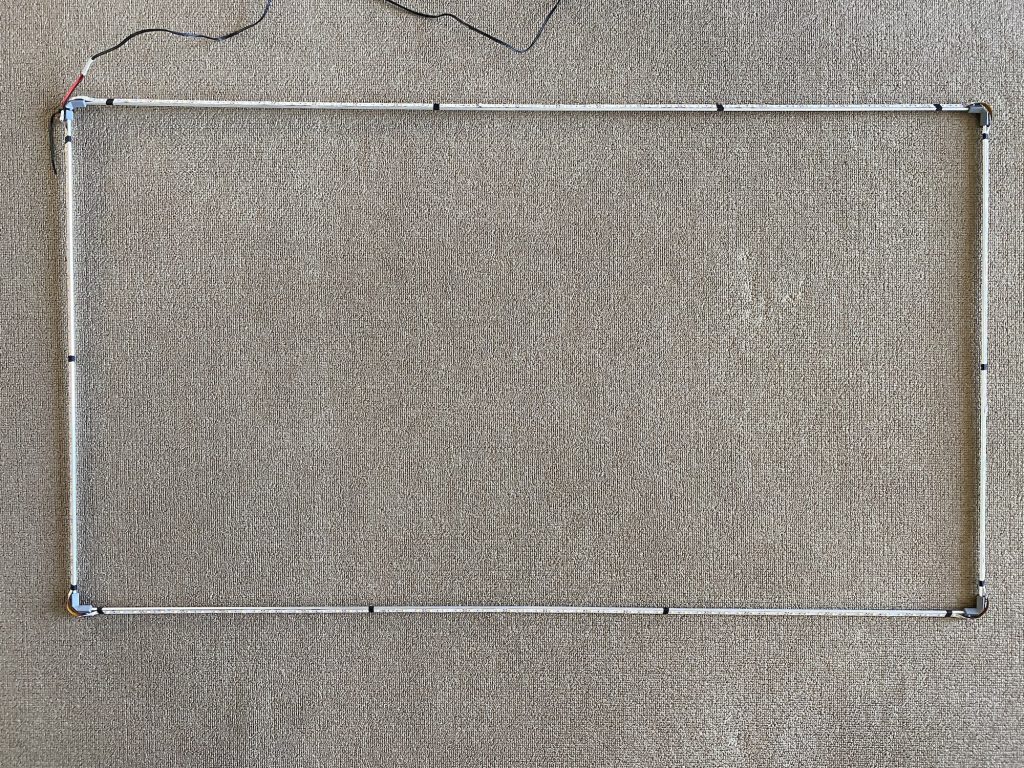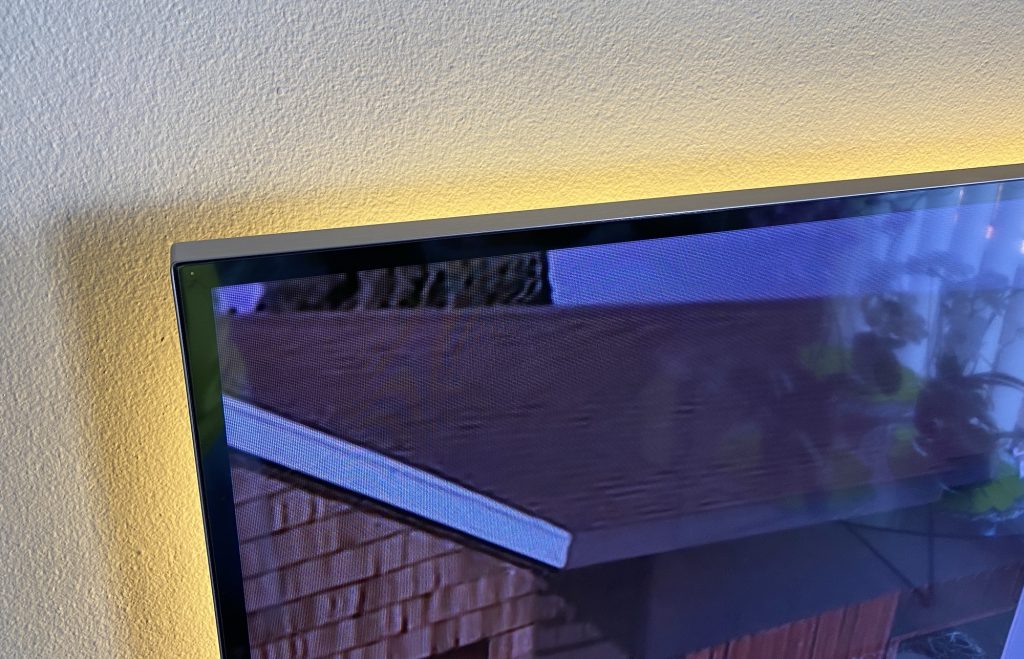
I have been creating LED backlights for TVs and Monitors for several years now. As a base I always used a 10mm x 3mm aluminium flat bar with various corner mounts. Recently however I have designed a corner joiner that can be easily 3D printed and make the whole assembly very easy.
What you will need
Here is what you will require to compete this project:
- 10mm x 3mm Aluminium flat bar (length will depend on the size of your TV)
- LED Light Strip any type you like (length will depend on the size of your TV
- 12v Power supply with a switch
- 3D Printed corner joints (you can download the design below)
- 8x M3 Screws x 8mm long (Can be flat or rounded head)
- 8x M3 Square nuts
- 15cm of 16mm heat-shrink tubing
- 1x small zip tie
Suggestion: For a 55″ TV I have cut 2x 110mm flat bar for the top and bottom & 2x 60mm flat bar for the sides. I have also purchased a 5m roll of warn while LED strip and I had some left over.
Preparation
To start, you will need to cut the aluminium flat bar into 4 pieces. 2 pices will be make up the top and bottom & will be longer than the other 2 pieces that will make up the sides. Naturally you want to achieve a rectangle so the top & bottom pieces need to be the same length. Likewise the sides need to be the same length.
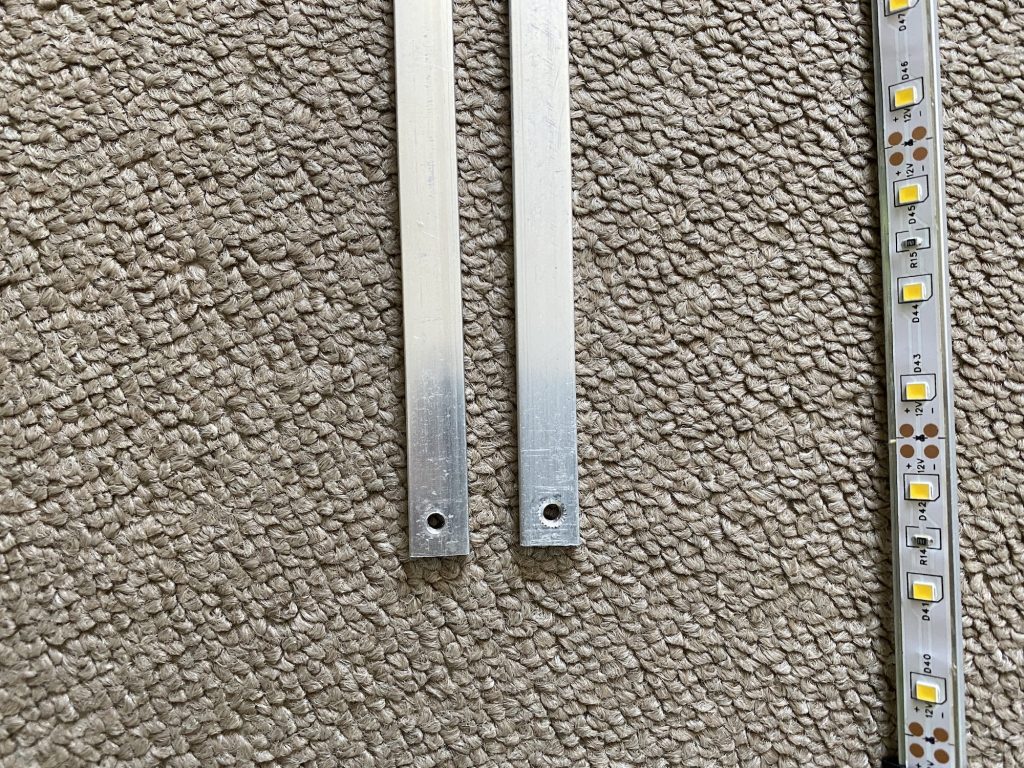
For my design I used M3 screws. You will need to drill a 3mm hole in to the ends of the flat bar. Make sure the hole is perfectly centred width wise and is between 5mm from the end to the hole centre. I hope you can drill the holes much more accurately than I have 😉 You will use these holes and M3 screws to help secure the flat bar in place.
3D Printing
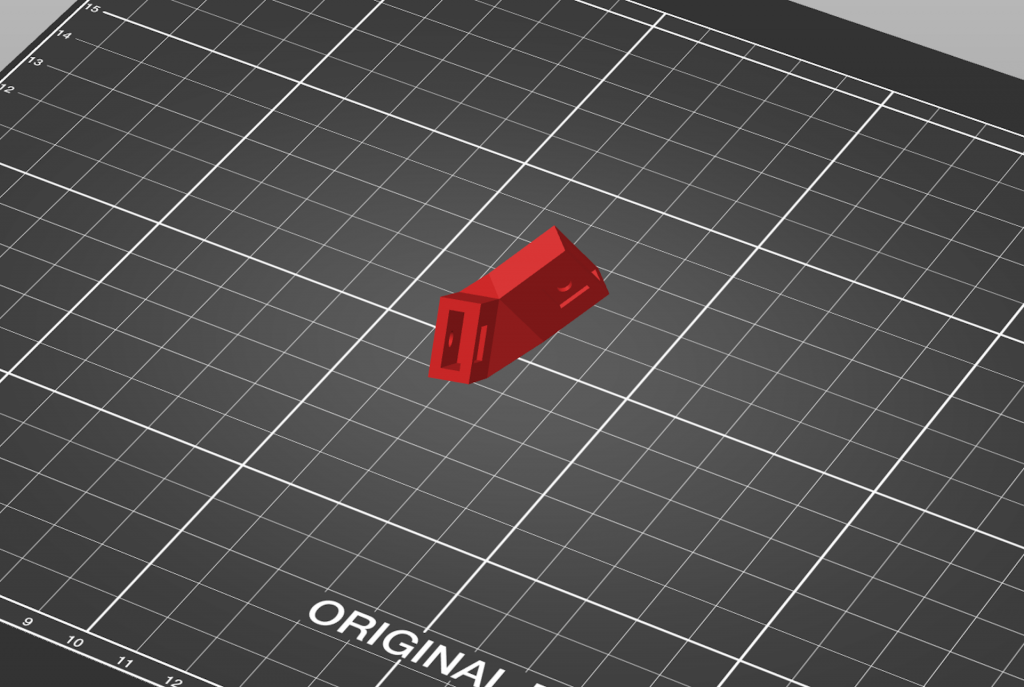
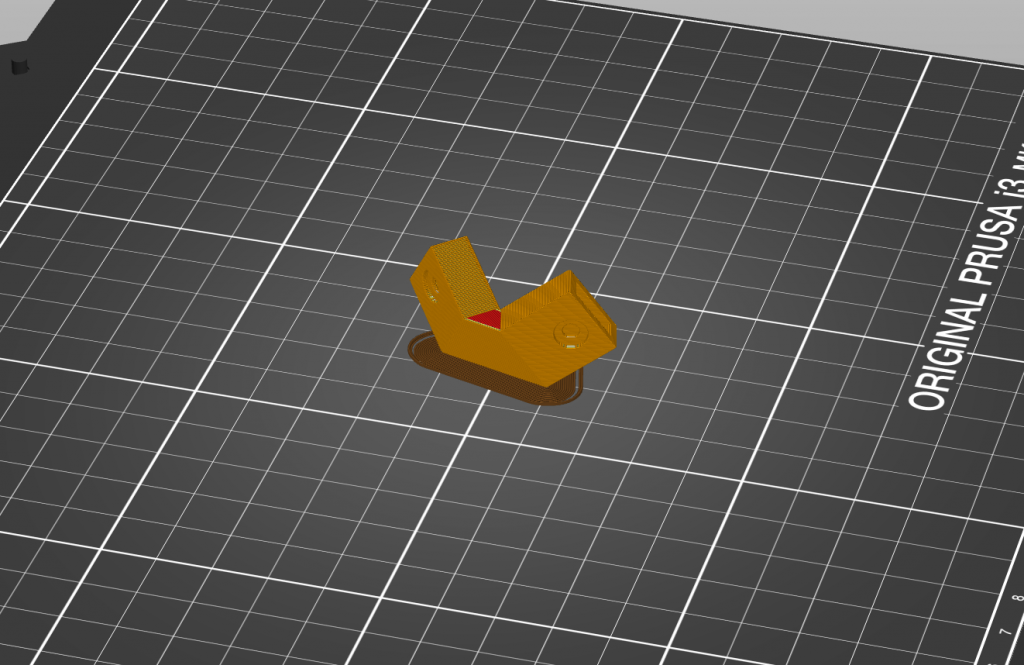
Next you will need to print 4x the corner joints. I used a Prusa MK3 i3 Printer and PLA+ Filament, 20% infilled and no supports and it prints very well. I have added 5mm brim to my print to make sure it stays fixed to the build plate as the flat surface area of the print is small. It took me about 1hr 40min to print 4 pieces at the same time.
You will notice that the 3D design has an indentation for the screws head and the square nut underneth.
Assembly
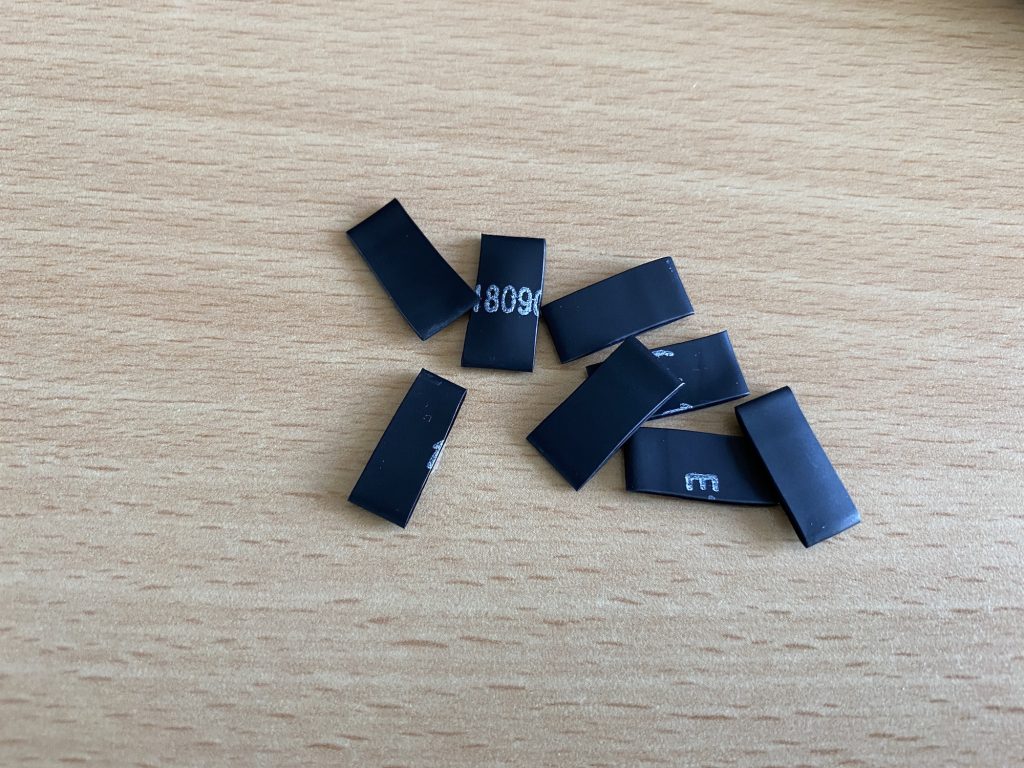
I have cut the heat-shrink tubing into 5-7mm strips. I used these you hold the LED strip securely in place. Even though the LED strip had a self-adhesive backing, these heat-shrink sleeves give it that extra security.
Choose a corner, where your wires will terminate and work your way from that corner, attaching the LED strip to the one flat-bar section at a time. When you get to the end of one bar, slide on the cut heat-shrink leaves and spread them out evenly. I used 3 sleeves on the shorter sessions and 4 sleeves on the longer ones.
When you get to the corner, attach your 3D printed joiner, insert the screws and the square nut on the underside. You may not need the nut, depending how tight your screw goes in.
You can attach you compatible power supply directly to your LED Backlight, or you can connect it to a smart LED light controller. I used a Zigbee RGBW controller.
DISCLAIMER: This is a DIY project that uses low power and lighting. If you choose to build this project and follow the above instructions, you are doing it at your own risk. I will not be held accountable for any damages caused.
Enjoy!
